

If you bought a fancy new turntable with a USB output, you might also have a piece of 'special software' included that can help you record your classic sounds to your modern PC.
But that's not the case for everyone. Many won't have a USB output and many more won't have any software to digitize their records with. Hopefully, that's where this guide can help.
Thanks to a free piece of software called Audacity, anyone can transfer their vinyl records to their PC, not fancy USB-equipped turntable required.
What you need
The first thing to do is download and install Audacity. This is a completely free piece of software and is an exceptional audio editor. It's also pretty simple to pick up for beginners, so if you've never used it before don't be afraid.
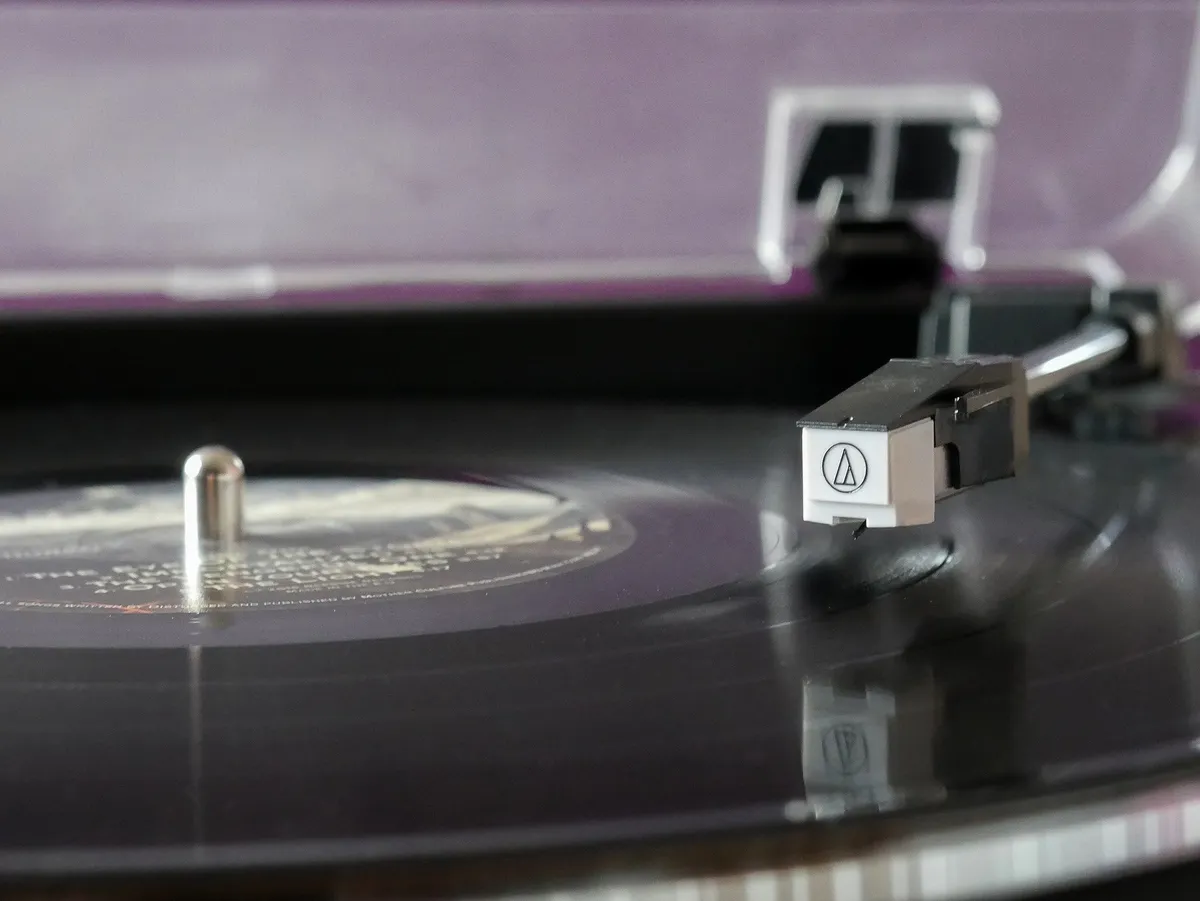
The next thing you need is an interface to make your PC see your turntable. If you have a USB output, then you just need to connect the turntable to the PC this way. But if you don't, you'll need an analog to digital converter. This will take the analog signal coming from your turntable and turn it into a digital input your PC will understand.

For the purposes of this walkthrough, I'm using a Behringer Xenyx 302USB mixer, just because it's a product I already own. You don't need something this big, though, and a much smaller converter can be found. You'll potentially find the products you're looking for labeled as a USB audio interface. Just make sure you get one with a USB connector on it.
Note: Don't confuse what you need for a DAC (digital to analog converter) when buying. A DAC takes the digital signal from the PC and turns it into an analog one. What you need is the reverse of this.
So long as you have a way to connect the right and left channels from the turntable to the PC, you'll be golden. The actual device will differ from person to person.
Connecting the turntable to the PC

If you have a USB turntable, plugging it into your PC is easy: connect the USB cable to the matching ports on the turntable and your computer. But if you have a turntable with a more standard phono output, you'll need to follow these steps:
- Connect your analog to digital converter to the PC using the supplied USB cable.
- Connect the left and right phono leads from your turntable to your converter.
- Power on the turntable.
- On your PC, open manage audio devices from the control panel.
- On the recording tab, make sure your converter is selected as the default input.
- Then click on properties.
- Select the advanced tab.
- From the drop-down box make sure that 2-channel is selected at your preferred sample rate. In my case, it's set to 2-channel, 16-bit, 48000Hz.
Setting up Audacity
The first thing you need to do in Audacity is ensure that when you open it up it's going to use the right hardware to record from and that the project rate matches what you selected in the steps above.
- Open Audacity.
- Select MME in the interface menu. It is the first drop-down menu in the controls.
- Select your USB analog converter in the source menu. It is the second drop-down menu in the controls and sports a microphone icon. My converter showed up as "Microphone (USB Audio CODEC)".

- Set the frequency menu to match your project sample rate to the previously set hardware sample rate. In this case, 48000Hz.

You're now set up to start recording. Before you get too far in, though, you'll want to do a little test recording on the loudest part of one of the songs you're transferring. This will ensure you get the right recording volume in Audacity and avoid any distortion.
If you're using a USB mixer like I am here, then you'll have hardware controls that can alter this without needing to do anything in Audacity. Essentially do a test recording and see where the highest point on the waveform is. Then alter the recording volume (the microphone slider) to a little more than this level to give yourself some headroom.
Recording your vinyl records

Once you're happy with the setup and the levels it's time to get recording.
- Hit the record button in Audacity and then drop the needle on your record.
- If you're recording a multi-record album it's a good idea to keep Audacity recording while you change them over. Reasons for this will become clear later on.
- When finished you'll have one very long waveform and your entire album recorded into a single Audacity track.
- Click on the file menu.
- Select save project.
Ignore the warning, you do want to save this as an Audacity project for the time being.
Now we can move onto turning that one long recording into individual tracks, while also cutting out any silences and even fixing any clicks you may have had transferred. It is vinyl, after all, so there's always a chance of imperfections.
Editing the recording

The first thing you want to do is get rid of any silences. You'll find these at the start, probably the end, and any places in the middle where you had to change the records over.
Removing them is easy, though.
- Use the selection tool to go to the beginning point of the silence.
- Click and drag the portion you want to remove. You'll see something like the image above.
- Press the delete key on your keyboard and it'll vanish.
Repeat these steps for any other areas of silence you need to get rid of, even between tracks if you wish. Don't take out too much between the individual tracks, though, as having a short gap will help you when it comes to splitting the recording into tracks.

Silences gone, the next thing you might want to do is sort out any clicks that came through on the recording. You'll be able to see them on the waveform fairly clearly as a spike. As I used a brand new record for this guide, I'm fortunate I don't have any, but if you're using older records then the chances are increased.
The first thing to try is Audacity's built in click removal tool.
- Select the affected area by dragging the selection tool over it.
- Select the effect menu.
- Now choose click removal.
You may have to experiment with different values for the threshold and spike width, but a good place to start is between 120-130 for the former and 30-40 for the latter. Keep trying different values until you're happy.
Alternatively, if the click removal tool doesn't do a good enough job, you can use the repair tool, also under the effect menu to deal with individual spikes.

The final thing you might want to do with your recording is to make it louder. Amplifying it a little will mean you don't have to turn the volume up so high when you listen to the digital tracks later on. If you're already happy with the levels, you can skip this part.
If you want to amplify the recording:
- Click anywhere inside the waveform.
- Select the effect menu.
- Click on amplify.
Audacity will tell you how much you can apply before hitting 0db. You don't want to go over 0db, for one, and some might argue you should keep it below this. But go with your own preference. Just don't go over 0, because you may start to encounter clipping and distortion and no-one wants that.
Save the project when you're happy and on to the next step.
Labelling tracks and exporting

Nearly there! Now you're happy with the quality of the audio, the next thing to do is to chop up that one long recording into individual tracks. The good news is you don't have to any actual chopping.
The first thing to do is add the album metadata.
- Click on file.
- Select edit metadata tags. You'll see the box shown in the image above.
- For now, only enter album information. So add the album name, artist, genre and year. Leave the track number and track name alone.
- Click OK to confirm.

Now we sort out the tracks.
- Go to the very beginning of the recording with the selection tool.
- Click tracks from the menu bar.
- Select add label at selection.
- A new bar will appear below your recording with a little empty text box.
- Type in the name of the first track and hit enter.
Repeat this process now at the start of every other track on the album. Earlier I recommended leaving some of the in-between track silences, and this is why. It'll make it easier for you to locate the start of subsequent tracks.
Once you've done this for every track on the album, it's a good idea to save the project again to make sure you don't lose any progress. What you now have is a complete album, edited and amplified with all its metadata inserted. The final step is to export the album as individual tracks.

- Click on file.
- Next select export multiple.
- Select the location your PC you want the files to go to.
Exporting multiple is important because if you just do a regular export you'll end up with a single audio file containing the entire album. Only by exporting as multiple will you get one file per track.
The next thing to do is choose the file type you want. If you want to compress the audio and have smaller file sizes, you can select MP3. But you'll also need to download and install the LAME plugin to do that. Personally, I want the lossless audio so I'm selecting FLAC.
The last tip here is to add numbers to your tracks. If you don't want numbers, skip ahead.
- Check the box labeled numbering before label/track name. This will add a track number to the files as it exports them to go with the names you added when labeling earlier.
- When you're happy, click export and we're done!
You will now have a complete album transferred from vinyl to your PC in individual files for each track. From here you can listen to them on your PC or your phone just as you would any other digital music file.
It's a bit of a process, but in some cases, it might be the only way you can listen to some of the tracks you have on record. Not everything made it to digital.

